- Home >>
- Author's archive:
The Best Free Wedding Website Builders and How to Set Up Your Photo Gift Registry
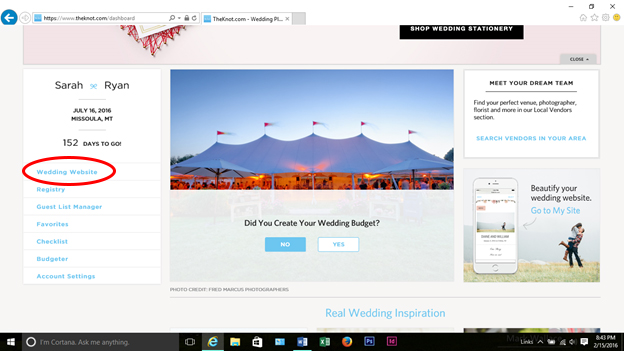
The Knot
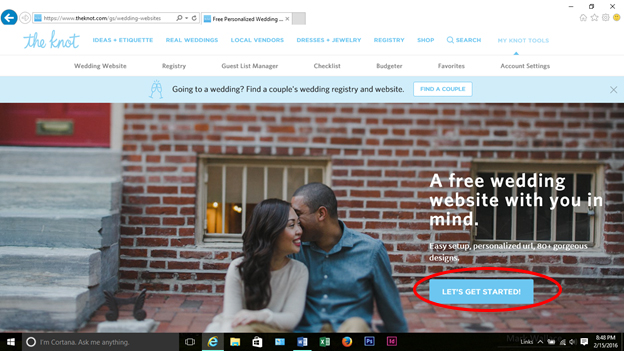
The Knot provides simple step-by-step directions to choose your theme and input your basic wedding information. Once you’ve completed the set-up and chosen your URL, click Save and Continue.

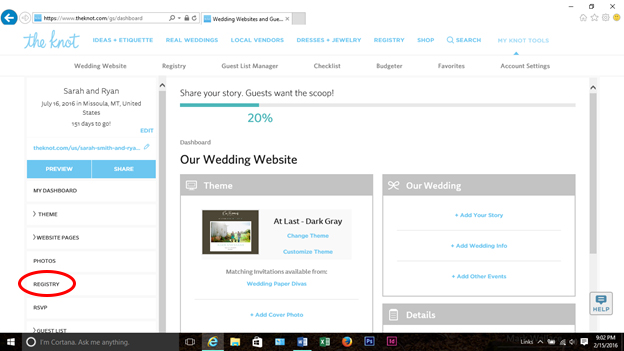
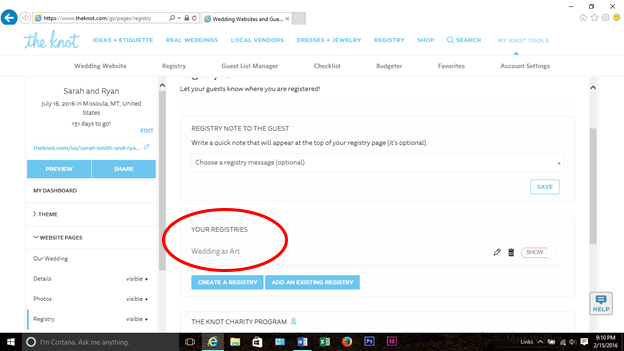
Now you’re ready to set up your registry! Click Registry.
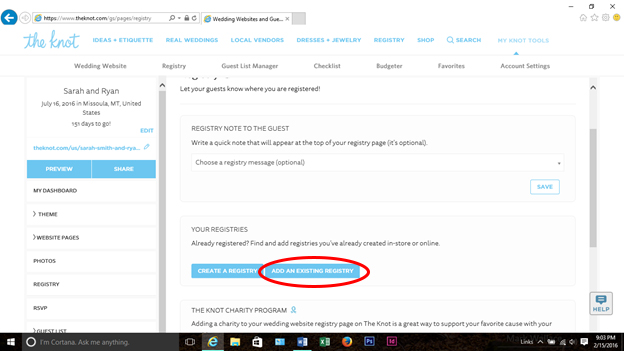
Click Add an Existing Registry.
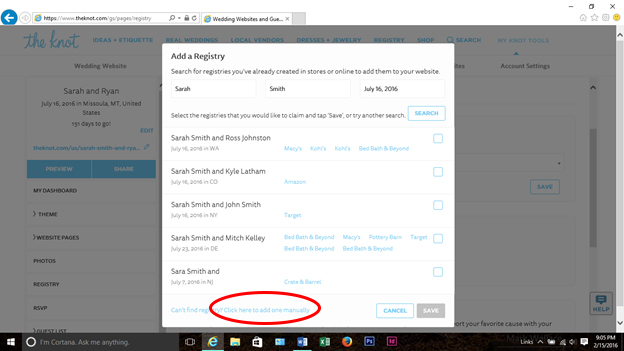
Click Add One Manually.
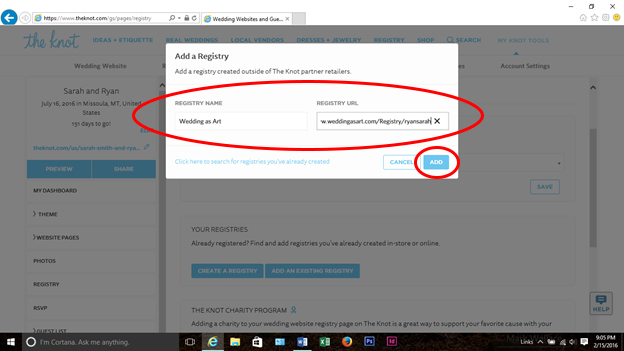
Type in “Photo Gift Registry” for the registry name and enter in your personalized Wedding as Art URL, then click Add.
You should see Photo Gift Registry under Your Registries.
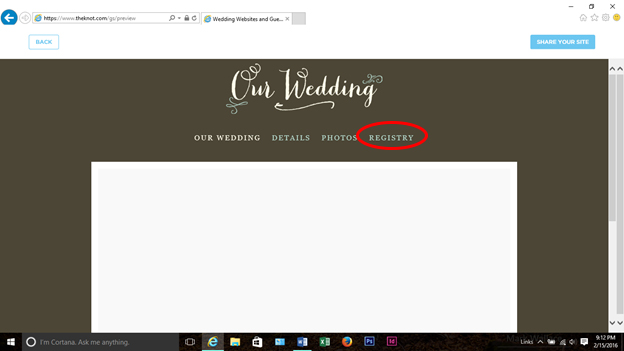
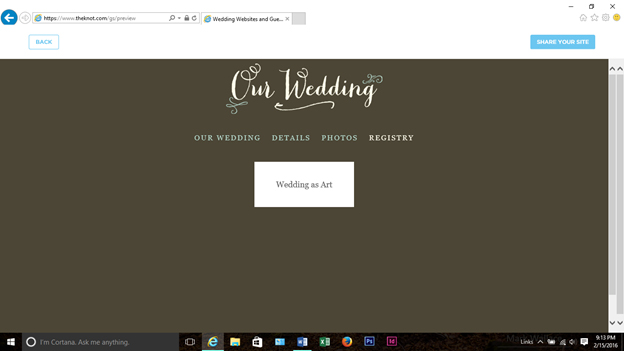
To check how guests will see your wedding website, click Preview.

Click Registry and Photo Gift Registry should appear.
Minted
After signing up, click Minted Weddings, then Wedding Websites, then About Wedding Websites.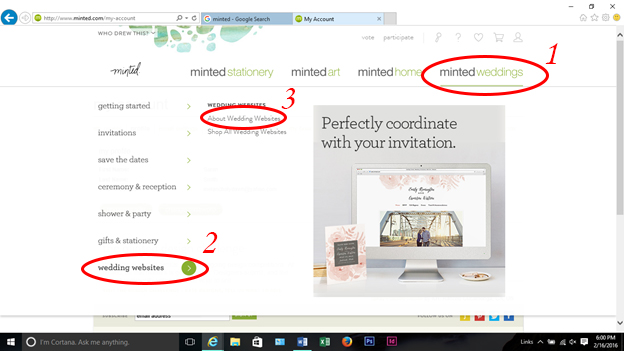
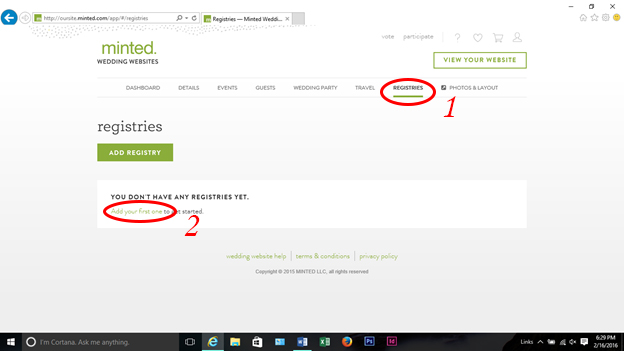
Once you’ve chosen your theme, your website is ready to have pages added to it. Click Registries, then Add Your First One.
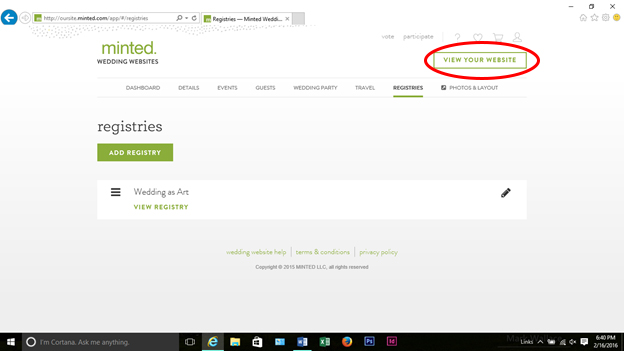
Type in “Photo Gift Registry” for the registry name and enter in your personalized Wedding as Art URL, then click Save.

To preview your website, click View Your Website
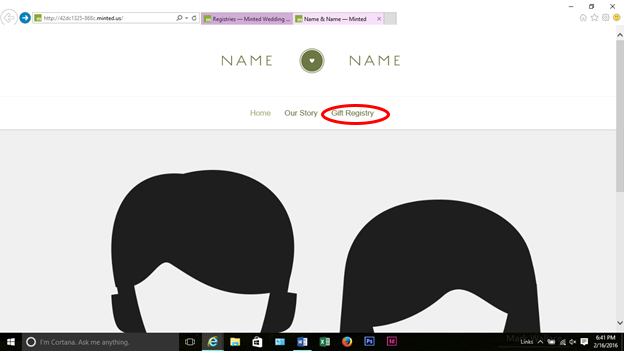
Click Gift Registry.
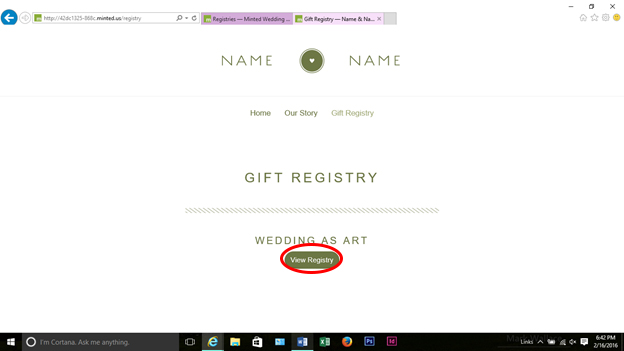
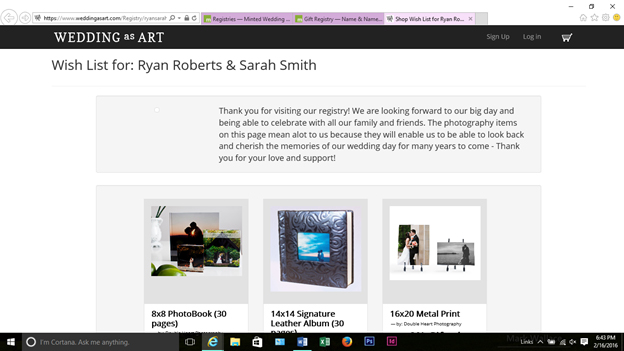
Click View Registry and you should be taken to your Wedding as Art gift registry page.
My Wedding
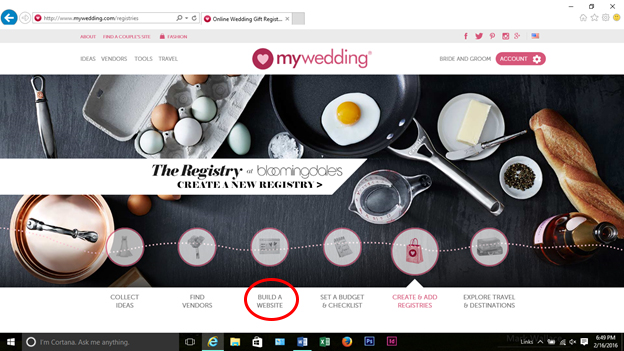
After signing up, to build your custom wedding website, click Build a Website.
Click Start My Website and follow the easy step-by-step instructions to create the layout of your website.

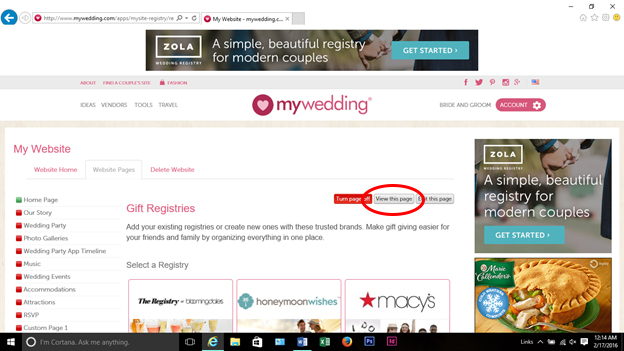
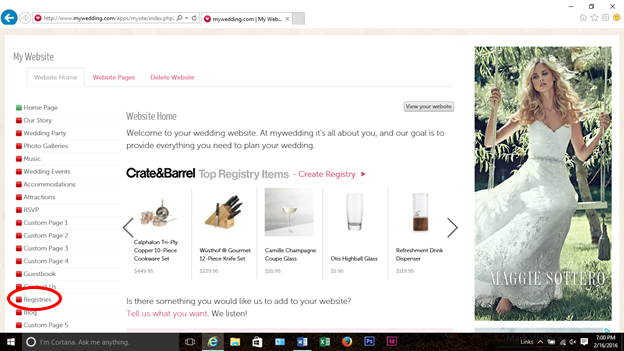
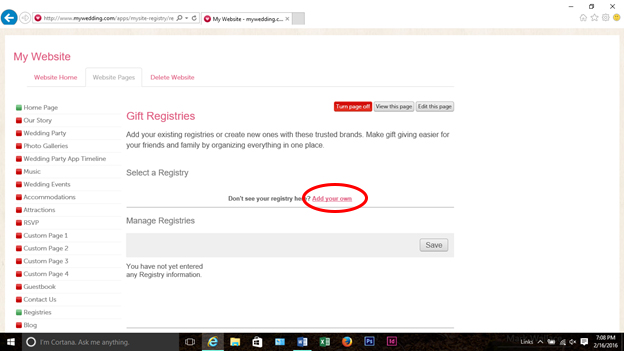
Once you have your website set up and are ready to add your registries, click Registries.
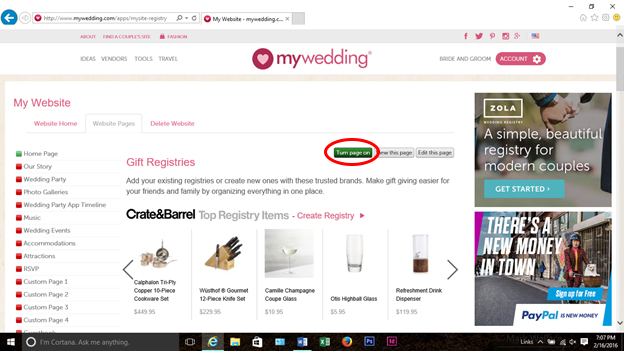
It’s important to click Turn Page On now, otherwise your registry will be hidden from guests.
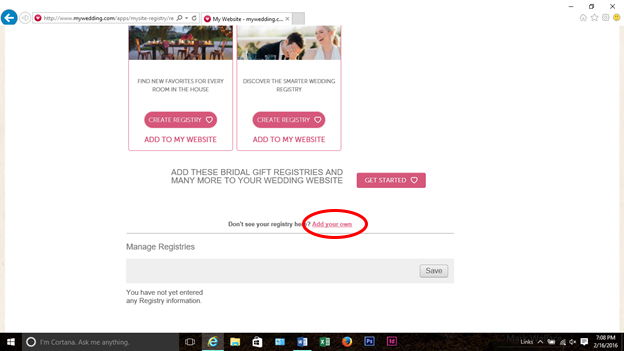
Click Add Your Own.
If you wait too long, the website will generate a list of suggested registries for you to choose from. If this happens, simply scroll to the bottom of the page to find the Add Your Own button.
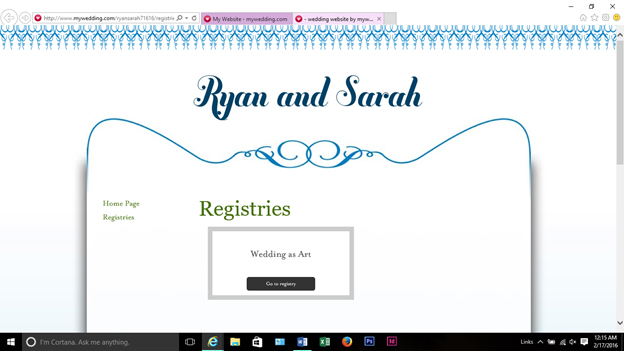
Type in Photo Gift Registry for the registry name and enter in your personalized Wedding as Art URL. Don’t worry about the map URL, telephone number, or address.
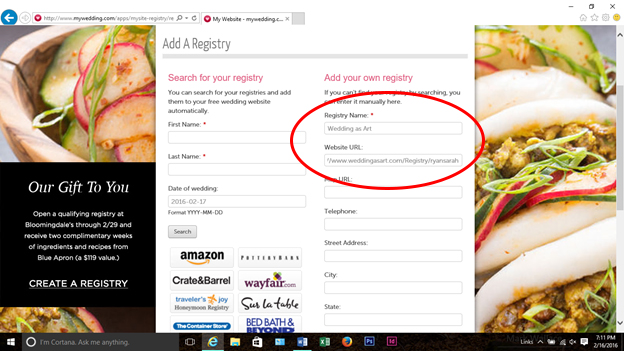
Scroll to the bottom and click Save.

To check how your registry will appear, click View This Page.